I now present to you

As you enter, you may notice a large CONGRATULATIONS banner hung on the inside wall...this beautiful banner was made for me by my sister for my first Baby Shower but also served as a way for me congratulate myself for finding the time to organize every envelope, roll of ribbon, pen, hole punch, heck even paper clips from binder clips (I warn you now....my obsession with organizing may be contagious).

My goal for this space was to have a place for all of my stationery, gift wrapping supplies, and crafts. Since I access many of these items quite frequently (and while often in a hurry!) I know I needed everything to be very accessible and easy to maintain. Thanks to this awesome black IKEA closet organizer, I was able to divide up our colored paper by each individual color and really make good use out of space storage vertically.

To the left of this space, the previous owners created this handy little table, the perfect area for me to grab a pen and write in a card, or lay out something for a gift. It also cleared enough space for us to slide our two-drawer filing cabinet underneath it!
Thanks to this awesome blog tip (p.s. I know many have ditched blogs and gone straight to Instagramming, but I still love visiting blogs for great home tips!) I purchased this behind the door organizer which I think truly makes all the difference in this small space. Instead of me not being able to see how many rolls of Zots I have, or getting all of my rolls of ribbon tangled, I now have a space efficient and organized way to see all my crafting goods and get to them in a jiffy!

I was worried about this shelf system being wobbly (I didn't even need to use the hardware it came with to attach it to the door), or it not allowing the door to close properly, but none of those things are an issue, plus I like how you can customize the shelf height to whatever you need it to fit and for those of you with kids, it works well to put smaller items up on higher shelves out of a child's reach.

Mason jars are fairly inexpensive and a great way to organize little or random bits of things. Since they're glass, it works perfect to be able to see what's inside of each jar too.

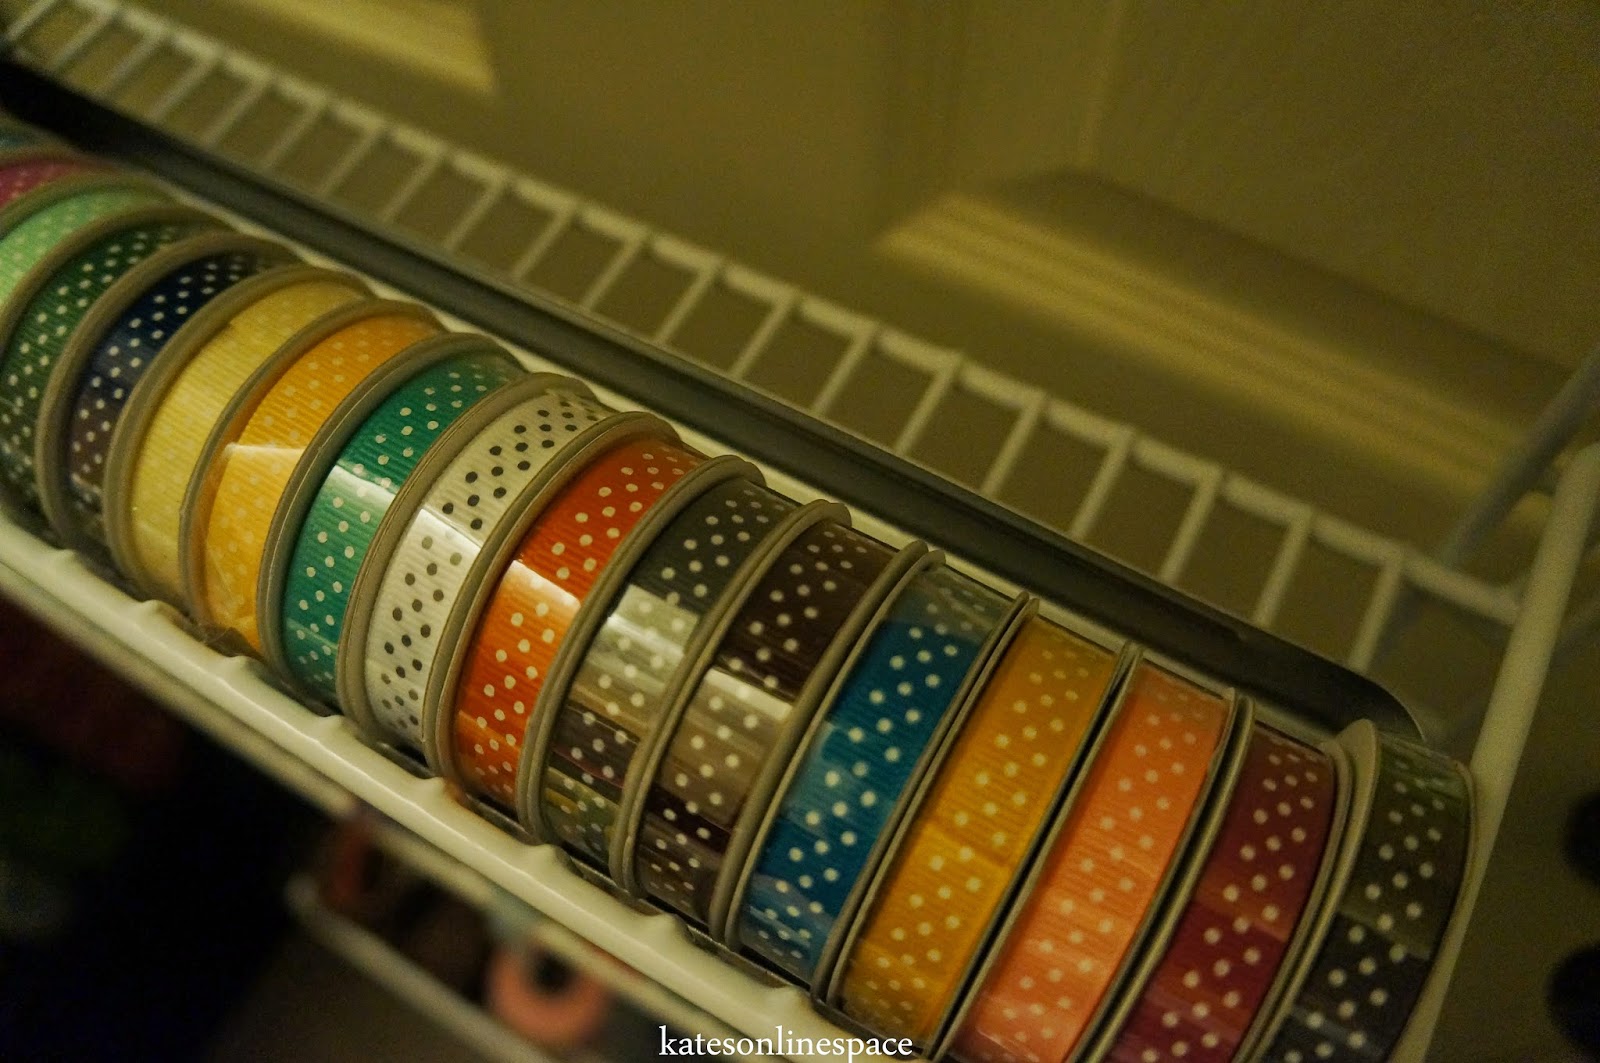
Since these mini rolls of ribbon are smaller than the grates in the shelf, I placed a metal tin underneath them to keep them from slipping through.

Love how I can just unroll a roll of ribbon and snip off how much I need without even removing the roll from the shelf.


I'm such a fan of being able to see my wrapping paper! Before I had them in a long Rubbermaid containers and it was deceiving for me to see how much was actually left on each roll, as well as what rolls were in what container. This simple black bin (aka garbage can) was only $4.95 at Lowes and I like how its rectangular shape allows it to discretely slide right behind the door.

Placed larger boxes of things like tissue paper, and party supplies up on the very top shelf.

Thanks to this blog, I was given the idea to organize gift bags on hangers- brilliant! Such a good use of space in a closet too where we already had the clothes rack installed.


Used the ivory closet organizer on the left (Velcros right onto clothes rack like the black one does on the right) to house gift wrapping supplies and stationery boxed sets. The clear storage drawers below now contain plain cards, envelopes, stickers, and printed cards. The brown storage container to the right houses other various craft supplies that we don't use as much along with these awesome craft trays that I HIGHLY recommend from Michaels. I pull them out every time now when I need to gather up supplies for something.


And last, here's a full shot of the guest room. In case you couldn't tell, this craft room (aka doorway to Heaven) is located behind the door to the left with the black mirror on it.
Love how easily everything just tucks away!

This is BEYOND brilliant! I love it!!
ReplyDeleteI love it!
ReplyDeleteVery nice! Isn't it fun to have a space all your own to create in? I love how when you shut the door it is all hidden away...great job! Happy Creating!
ReplyDelete